# Secure Kubo RPC with TLS and HTTP Auth
This guide will help you set up several things:
- Transport Encryption: Caddy as a reverse proxy with automatic TLS certificate management for your Kubo node using a domain you control.
- Authentication: Basic HTTP authentication for the Kubo RPC API.
- CORS (Cross-origin resource sharing): Allow web requests from additional domains to the Kubo RPC API.
This is highly recommended if you run your own Kubo node and want to use the Kubo RPC API over public networks, for example, to pin CIDs from CI, or other services. Since the Kubo RPC API is exposed over plain HTTP, TLS is used to ensure the connection to the API is encrypted.
# Prerequisites
Before starting, ensure you have:
- A domain name (referred to as
YOUR_DOMAIN) with its A record pointing to your server's IP address - Kubo running on a server/VM with a public IP address
- Port 443 open on your server's firewall
- Caddy web server (opens new window) installed on the server
The guide assumes the Caddy and Kubo are managed by systemd. If you are using a different process manager or Docker, you will need to adjust the configuration accordingly.
# Configure Kubo
First, you'll need to configure Kubo to work with the reverse proxy. Edit your Kubo config file (usually located at ~/.ipfs/config) and update the API section:
"API": {
  "HTTPHeaders": {
    "Access-Control-Allow-Origin": ["https://YOUR_DOMAIN"],
    "Access-Control-Allow-Credentials": ["true"]
  },
  "Authorizations": {
    "api": {
      "AuthSecret": "basic:hello:world123"
      "AllowedPaths": [
          "/api/v0"
        ]
    }
  }
}
This configuration:
- Sets CORS headers to allow requests from
YOUR_DOMAIN. Kubo will match thehostheader in the request with theAccess-Control-Allow-Originfrom the configuration, so you need to ensure the origin is correct. - Restricts API access to the Kubo RPC API, allowing access to the
/api/v0endpoints with basic HTTP authentication.
Note: You should set the
AuthSecretto a stronger username and password combination.
# Restart Kubo
After updating the Kubo config file, restart Kubo:
sudo systemctl restart kubo
Note: the name of the service may be different depending on how you installed Kubo.
# Configure Caddy
Create or edit your Caddyfile (typically at /etc/caddy/Caddyfile) with the following configuration, making sure to replace YOUR_DOMAIN with your actual domain name:
YOUR_DOMAIN {
  reverse_proxy localhost:5001

  log {
      output stdout
      format json
      level INFO
  }
}
This configuration:
- Sets up a reverse proxy to Kubo's API on port 5001
- Logs requests to the Kubo API in JSON format to stdout
# Restart Caddy
Restart the Caddy service to apply the changes:
sudo systemctl restart caddy
# Test the Connection
To verify everything is working correctly, test the connection using the IPFS CLI, making sure to replace YOUR_DOMAIN with your actual domain name:
ipfs id --api /dns/YOUR_DOMAIN/tcp/443/https --api-auth basic:hello:world123
If successful, you should see your node's identify displayed. The command connects to your Kubo node through the secure HTTPS endpoint using basic authentication.
# Configuring CORS for use with IPFS Web UI
In this step, we will configure CORS (opens new window) to allow the webui.ipfs.io (opens new window) to access the Kubo RPC API.
For this, you will need to update both the Kubo config file to allow requests from webui.ipfs.io and the Caddyfile to correctly handle preflight OPTIONS requests from webui.ipfs.io.
# Kubo Config
Add webui.ipfs.io to the API.HTTPHeaders.Access-Control-Allow-Origin section in the Kubo config file (in addition to YOUR_DOMAIN):
"API": {
  "HTTPHeaders": {
-    "Access-Control-Allow-Origin": ["https://YOUR_DOMAIN"],
+    "Access-Control-Allow-Origin": ["https://YOUR_DOMAIN", "https://webui.ipfs.io"],
    "Access-Control-Allow-Credentials": ["true"]
  },
}
After updating the Kubo config file, restart the Kubo service:
sudo systemctl restart kubo
# Caddyfile
Update the Caddyfile to handle preflight OPTIONS requests from webui.ipfs.io:
YOUR_DOMAIN {
+  # Handle CORS preflight requests
+  @options {
+    method OPTIONS
+  }
+  handle @options {
+    header {
+      Access-Control-Allow-Origin "https://webui.ipfs.io"
+      Access-Control-Allow-Methods "GET, POST, PUT, DELETE, OPTIONS"
+      Access-Control-Allow-Headers "*"
+      Access-Control-Allow-Credentials "true"
+    }
+    respond 204
+  }

  # Handle all other requests
  handle {
    reverse_proxy localhost:5001
  }

  log {
    output stdout
    format json
    level INFO
  }
}
After updating the Caddyfile, restart Caddy:
sudo systemctl restart caddy
# Using the IPFS Web UI with the Kubo RPC API endpoint you configured
To use the IPFS Web UI (opens new window) with the Kubo RPC API, you can pass the
Start by opening webui.ipfs.io/#/welcome (opens new window):
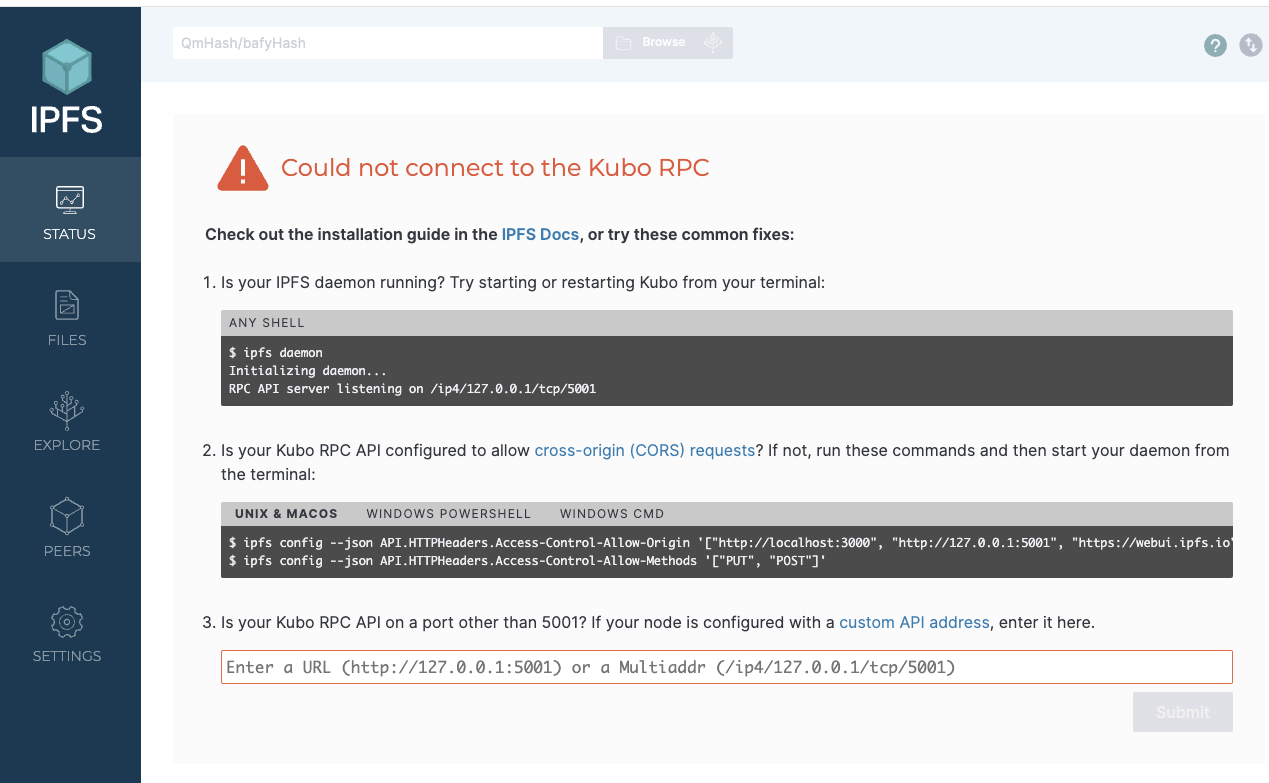
Enter the Kubo RPC API endpoint as follows, including the basic auth credentials:
https://hello:world123@YOUR_DOMAIN
Note: Make sure to replace
hello:world123with the credentials you configured in the Kubo config file, andYOUR_DOMAINwith your actual domain name.

Click on the "Submit" button, and you should see the IPFS Web UI connected to your Kubo node.
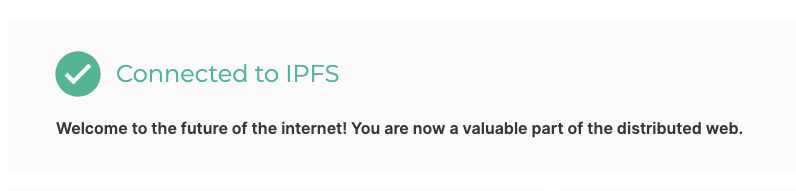
🎉 Congratulations! You can now use the IPFS Web UI to interact with your Kubo node.
# Security Considerations
- Change the
AuthSecretto a strong username and password combination - Consider restricting the
AllowedPathsfurther based on your needs - Keep your Caddy and Kubo installations updated
- Regularly monitor the logs for any suspicious activity
# Troubleshooting
If you encounter issues:
- Check Caddy logs
- Verify your domain's DNS settings, ensuring the A record is correct. Sometimes changes can take a few minutes to propagate (depending on the TTL of the DNS record).
- Ensure port 443 is open and not blocked by your firewall
- Check that Kubo is running and accessible on localhost:5001